Showing posts with label fruit. Show all posts

Tuesday, April 19, 2011

Peaches and Cream

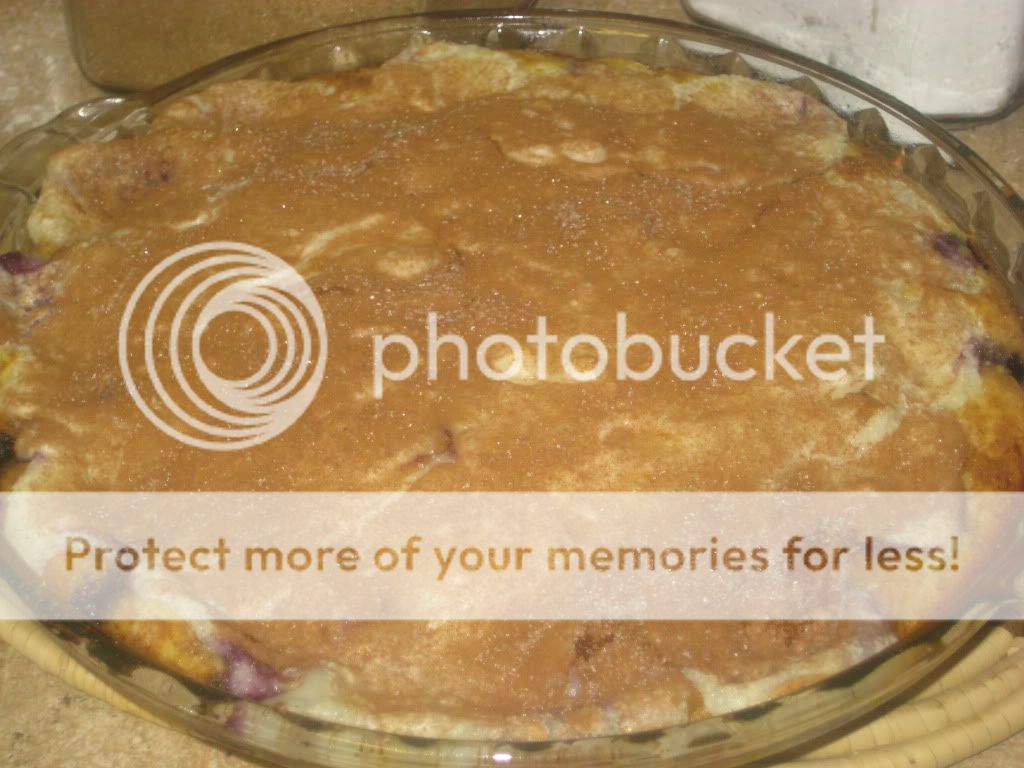
Last night I tried a new dessert recipe that my aunt had sent my mom, called Peaches and Cream. Oh my word, was it good! So good in fact that I convinced myself that it was kind of like coffee cake and had it for breakfast this morning. My kids kind of gave me the side-eye as I ate dessert for breakfast but it was worth it.


Like a cross between cheesecake and cobbler, this dessert is sure to win you friends, or at least start end your day right.


printable recipe
Peaches and Cream

1 (3 oz) package vanilla pudding (not instant, you need the cook and serve kind for this recipe)
3/4 cup flour
1 tsp baking powder
dash of salt
1 egg
1 Tbsp butter
1/2 cup milk
1 (15 oz) can of sliced peaches
8 oz cream cheese
1/2 cup + 1 tsp sugar, divided
1/2 tsp cinnamon

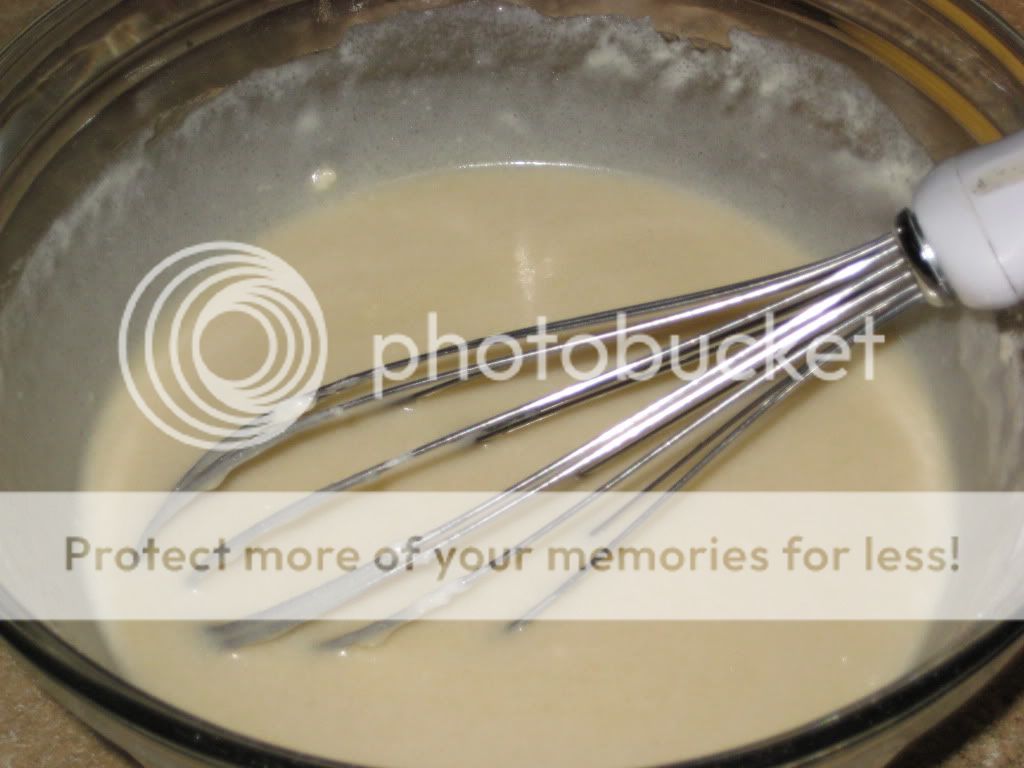
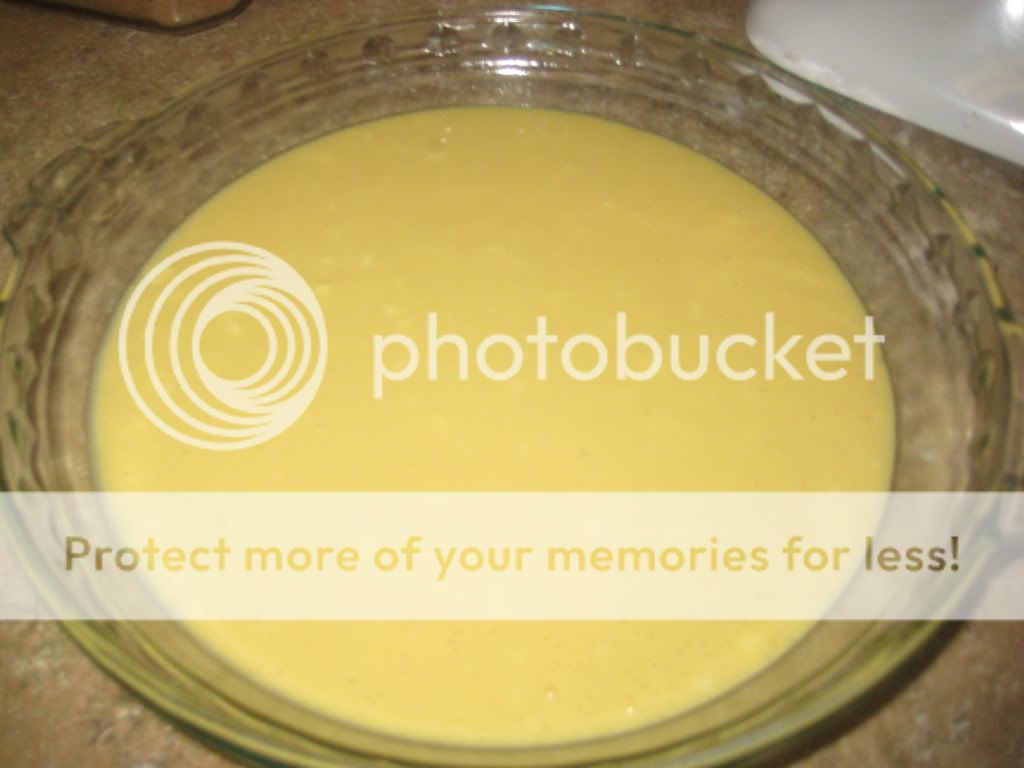
Combine pudding, flour, baking powder, salt, egg, butter, and milk in a medium-sized mixing bowl. Beat for 2 minutes then spread in a greased 8x8 inch square pan or 9 inch deep pie pan.


Drain the peaches, reserving the juice, and arrange on top of the fruit.


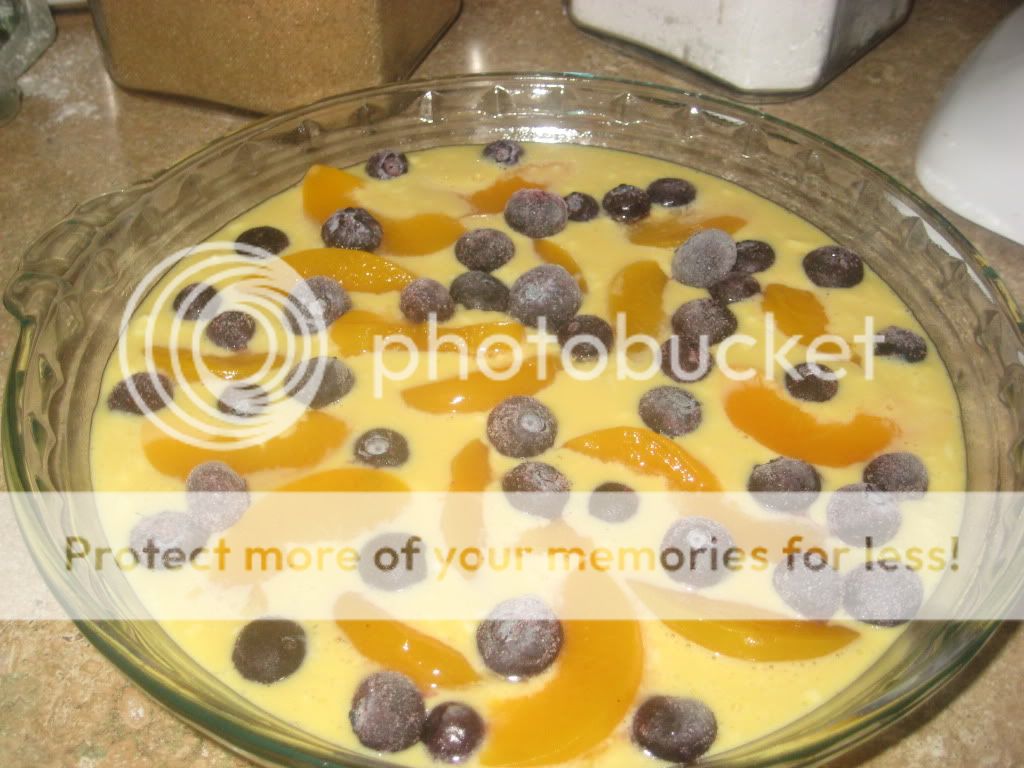
If you're feeling frisky, sprinkle a couple of handfuls of blueberries (fresh or frozen) on top.


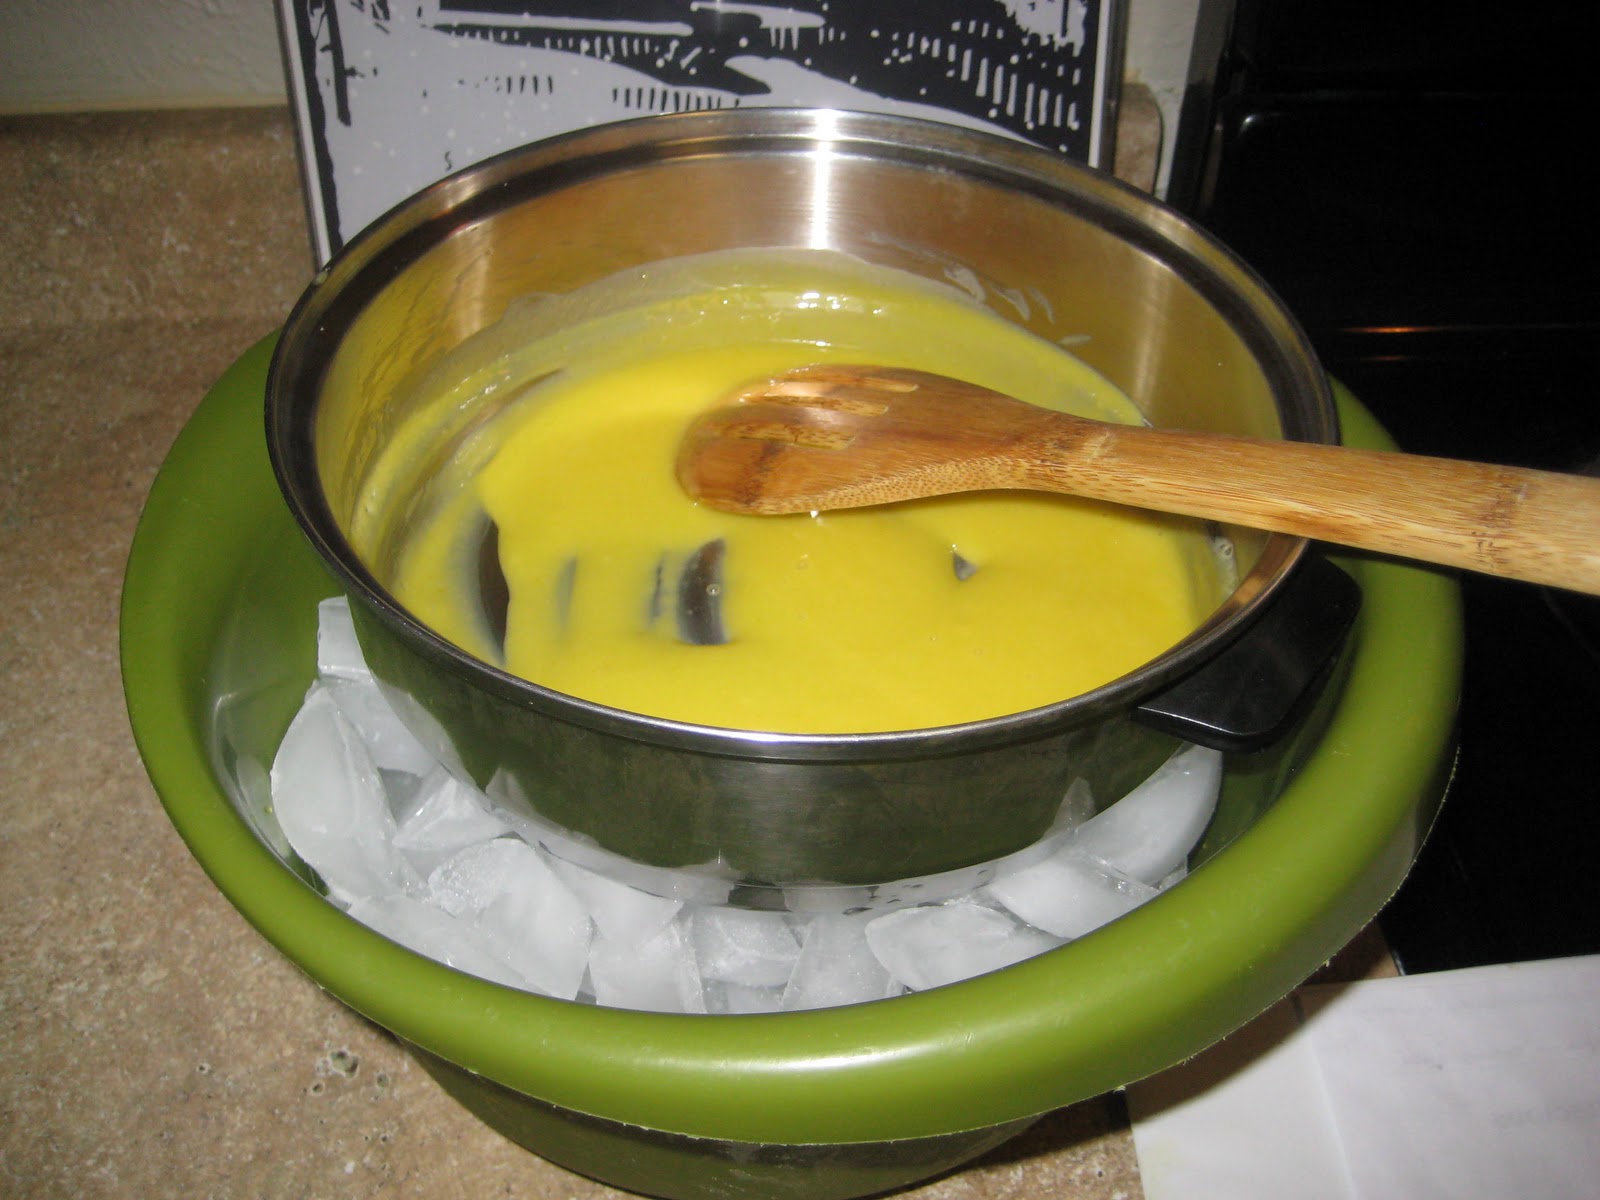
Combine cream cheese, 1/2 cup sugar, and 3 Tbsp peach juice. Spoon on top of fruit.


Mix together the remaining tsp of sugar and the cinnamon.


Sprinkle cinnamon-sugar mixture on top of cream cheese.


Bake at 350F for 30-35 minutes, until cake mixture is golden on the edges.

Let cool down a bit, then serve warm. If you're impatient like I am and try to dig in too soon, you will end up with an (albeit delicious) mess.


However, if you let it sit up a bit it will lend itself to more tidy serving.


Linking:

Chronicles of a crazy mom


Saturday, February 12, 2011

Blackberry Cobbler

While we were in Billings, my generous mom bought me a copy of The Pioneer Woman Cooks. I read the cookbook cover to cover in 2 days (yes, I read cookbooks like novels, doesn't everybody?) and returned home excited to try the recipes inside. While most of the recipes can be found (and printed) online, it is so fun to be able to have the pictures right there in the kitchen while I cook.


I was hoping to go to the book signing that Ree did in Denver today, but after hearing how long the lines were in SLC on Thursday, I decided that it would pretty much be torture to my two kids to do an all-day downtown excursion. I could have left them with their dad, but how fun is that? So we are staying in and decorating Valentine's Day sugar cookies instead (stay tuned for that recipe, it's a keeper)!

We got some beautiful blackberries from Costco earlier this week. Such a treat in the middle of February!


Of course, Costco fruit is sold in large containers so I've made smoothies, fruit salad, and considered making Blackberries and Cream again. Instead, I made Blackberry Cobbler from the Pioneer Woman cookbook:


So so good. Here's how:

printable recipe
Blackberry Cobbler

1 stick butter
1 1/4 cup + 1 tsp sugar, divided
1 cup self-rising flour OR 1 cup all-purpose flour + 1 tsp baking powder (scant tsp for us high-altitude folks)
1 cup milk
2 cups blackberries, rinsed and dried

Preheat oven to 350F. Melt butter in microwavable dish. I have no picture, but we all know what melted butter looks like, right? Right.

Whisk milk, 1 cup of the sugar, and the flour (and baking powder if using all-purpose flour) together in a medium-sized bowl.


Pour in the melted butter and whisk until well-blended.

Butter your baking dish. Ree doesn't really say what kind or size to use, but the closest thing I had to her pictures was my deep pie dish, and that worked great.


Pour the batter into the baking dish.


Arrange the blackberries evenly on top of the batter.

Sprinkle with 1/4 cup of sugar. Bake at 350F for 1 hour, sprinkling with 1 tsp of sugar when there is 10 minutes of baking time left. I forgot the final sugar sprinkling and thought the cobbler was plenty sweet, although I imagine the last little bit of sugar makes a nice crust on top.


I'm not sure why my cobbler had a funny leaf-shaped design on top when it first came out. Once it cooled it wasn't really noticable.


And once I served it, no one cared at all. Definitely serve this warm, vanilla ice cream or whipped cream optional. Yum.

Monday, January 17, 2011

Apple Cinnamon Bread

This bread is so delicious and packed full of apples. It smells so good while it is baking, your whole family will be hanging out in the kitchen waiting for it to come out of the oven!

I used Granny Smith, but you can use whatever you have on hand.

This recipe is adapted from Two Peas and Their Pod.


printable recipe
Apple Cinnamon Bread

1 1/2 cups flour (add an extra 1/4 cup if high altitude)
1 tsp baking soda (if high altitude, use scant teaspoon)
1/2 tsp salt
2 1/4 tsp cinnamon
1/4 tsp ground cloves
1/8 tsp ground nutmeg
2 eggs
1/4 cup canola oil
1/4 cup applesauce
1 tsp vanilla extract
1 cup sugar
2 cups peeled and chopped apples (1 large apple or 2 small apples)

Topping:
2 Tbsp butter
1/2 tsp cinnamon
1 Tbsp brown sugar
1 tsp flour
1 Tbsp oatmeal


Preheat oven to 350F. Grease and flour an 8x4 inch loaf pan. Peel and chop the apples.


In a medium bowl, whisk the first six ingredients together. 

Beat the eggs on medium speed in a large bowl. Add the oil, applesauce and vanilla and blend until smooth. Add the sugar and mix until well-combined.


Add the flour and mix in on low speed until just mixed. Fold in the apples.


Pour the batter into the pan. The bread will rise while baking so don't fill the pan more than 2/3 full. Use any extra batter you might have to make a couple of muffins.


In a small bowl, cut the butter into the rest of the topping ingredients. Add more sugar, cinnamon or flour as needed.


Sprinkle over the batter in loaf pan.


Bake for 55-65 minutes or until a toothpick inserted in the middle comes out clean.

Cool the bread in the pan for at least 10 minutes, then remove to a cooling rack. Try to cool completely before slicing. Obviously I didn't wait and my loaf crumbled a little but it was oh, so good.


Monday, December 27, 2010

Cranberry Lime Salsa Dip


Around the holidays, it's important to have a go-to appetizer recipe that you can bring to parties or serve at your own get-togethers. It should make an impression on both the eyes and the mouth, and be easy to make, because who has time to spend hours making one dish when there are so many good things to make and eat? This year, that recipe for me was Cranberry Lime Salsa Dip.

I got the original recipe from my friend Julie's blog and tweaked it just a bit for my own taste.

The important thing with this recipe is to let the salsa sit for a few hours so the flavors can blend together and the cranberry can sweeten before serving.

Cranberry Lime Salsa Dip

printable recipe

6 oz fresh cranberries (1/2 bag)
4 scallions, minced
grated fresh gingerroot (about a Tbsp worth)
3 Tbsp sugar
small handful cilantro, minced
1 Tbsp lime juice
1 jalapeƱo, seeded and minced
8 oz brick of cream cheese

Don't you love the red and green colors?
Using a food processor, pulse cranberries until finely chopped but not mushy. I do not own a food processor so I used my blender, they were a little chunkier than they were supposed to be, but it worked. Place cranberries in bowl, add remaining ingredients, cover and refrigerate for several hours.


When ready to serve, place cream cheese in the middle of a serving plate. I love this plate that my sister Heidi gave me as a wedding present.


Cover cream cheese with salsa.

Arrange crackers around dip. Try to keep your fingers out of it until your guests arrive. 


On second thought, dig in! It will make me feel so much better.

Thursday, December 9, 2010

Blackberries and Cream

Blackberries were on sale and I had some extra cream from making Broccoli Cheese Soup so I pulled this recipe off of the Pioneer Woman website and gave it a try. I quartered the ingredients since I was only serving my husband and myself. I also cooked it a little longer than she did, on purpose, because I wanted it to be a little thicker. The result? It tasted a little like creme brulee without the carmelized top, add blackberries. We loved it.

Here is the recipe, in two serving proportion. You can see the original recipe, which serves 8, by clicking here.

Blackberries and Cream

printable recipe 

4 oz heavy whipping cream
1/4 cup (4 Tbsp) sugar, divided
2.5 egg yolks (yeah, I know, I was quartering the recipe, remember?)
1/2 tsp vanilla extract
fresh blackberries (I'm sure raspberries or blueberries would be tasty as well)

Heat cream and 2 Tbsp sugar in small saucepan over medium-low heat, stirring occasionally. Bring to a strong simmer, but do not boil.

Whisk egg yolks with rest of sugar (2 Tbsp) in a bowl. I used my Kitchenaid. Add vanilla extract. Whisk on medium for 1 minute then slowly add cream mixture while continuing to whisk.

After all cream is added, pour mixture into the top of a double boiler. Heat over medium heat and gently stir until mixture starts to thicken. Remove from heat and place pot in bowl of ice (don't let the ice get in the cream though). 

Stir to cool. Remove to a bowl and refrigerate, covered, for several hours.

Spoon into a small bowl and cover with blackberries.