This is my Hannah.
She is 19 months and 20 lb. She is tiny, adorable and a snuggler.
She loves to be like her big brother.
Which means she is on the go all the time. She is a great climber. I don't have any pictures for proof (because we try not to encourage her) but she routinely climbs onto the piano, the back of the couch, and kitchen table. At my in-law's house last month Hannah actually climbed onto their table and was literally swinging from the chandelier before my mother-in-law grabbed her.
Why all this set-up? Well, because yesterday something very stressful happened to Hannah which ultimately led to the baking of the treat that is the subject of today's post.
Sunday evening my son Nathan took apart a large picture frame that I had displayed on our window seat. I
wasn't feeling well at the time so instead of putting it back together immediately as I should have, I placed it on the kitchen table. I should have known better (see paragraph above re: Hannah's kitchen table climbing).
Yesterday morning, true to form, Hannah climbed up on the kitchen table. I immediately (I thought) removed her from the table. Little did I know, she must have run her finger just right on the edge of the glass picture frame cover because she came up to me a couple of minutes later and said, "I hurt my hand."
Looking down, I saw that her tiny hand was covered in blood. For a minute, time stood still.
Then, I rushed her into the bathroom to rinse off the blood and see where it was coming from. There was a small cut on her middle finger but it looked deep (in my slightly panicked mind, anyway) and would not stop bleeding. After what seemed like eternity, but was probably only a few minutes, I decided I'd better take her in to see if she needed stitches. This was her tiny little finger, for goodness sake, and blood was pouring out of it!
Of course, by the time I got her in to see the doctor, the bleeding had stopped and all he did was clean it and put a bandaid on it. A very, very expensive bandaid.
And it didn't even have Snoopy or Mickey Mouse on it! Hannah was not impressed, she ripped it off and casually threw the it in the trash the minute we walked out of the doctor's office.
When we returned home, I discovered that I was a little stressed. And when I'm stressed, I like to bake. Fortunately, my mouth is still pretty sore which prevented me from eating too much of the treat I made, but they were good, and the baking process was just what I needed to relax.
Make these the next time your toddler (or teenager) almost gives you a heart attack! You'll be glad you did. This recipe is adapted from one found on
allrecipes.com.
printable recipe
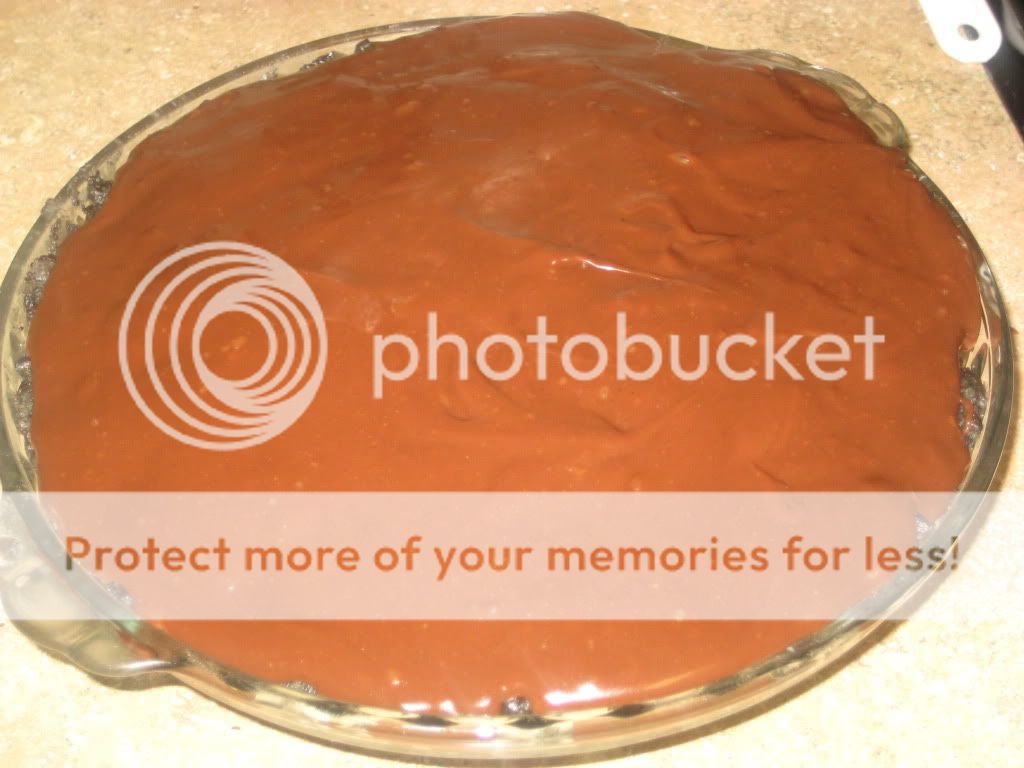
Chippy Blond Brownies
3 Tbsp shortening (I like butter-flavored Crisco)
3 Tbsp butter (softened)
1 cup packed brown sugar
2 eggs
1 tsp vanilla extract
1 1/4 cups flour (add an extra Tbsp for high altitude)
1 tsp baking powder (scant tsp for high altitude)
1/2 tsp salt
1 cup chocolate chips
1/2 cup chopped pecans (optional, if omitting, add an extra 1/4-1/2 cup chocolate chips)
In your mixing bowl, cream the shortening, butter, and brown sugar.
Add eggs, one at a time, and beat well after each addition. Beat in vanilla extract.
Mix flour, baking powder and salt in a separate bowl then gradually mix into butter, sugar, egg mixture. Stir in chocolate chips and nuts (if using). Try really hard to resist sticking your finger in and sampling the batter. It's yummy and kind of addicting.
Spray a 9x9 inch baking pan with cooking spray and spread batter inside.
Bake at 350F for 25-30 minutes until a toothpick inserted comes out clean. Cut into squares and serve warm (with ice cream and
hot fudge, if desired).
This recipe is featured in
Menu Plan 13.